Hands on mini review of the just announced Fujifilm X-T2

pet photographer in Kl and PJ


Portrait photo with the Fuji X-T2 shot with the XF 18-55mm R.
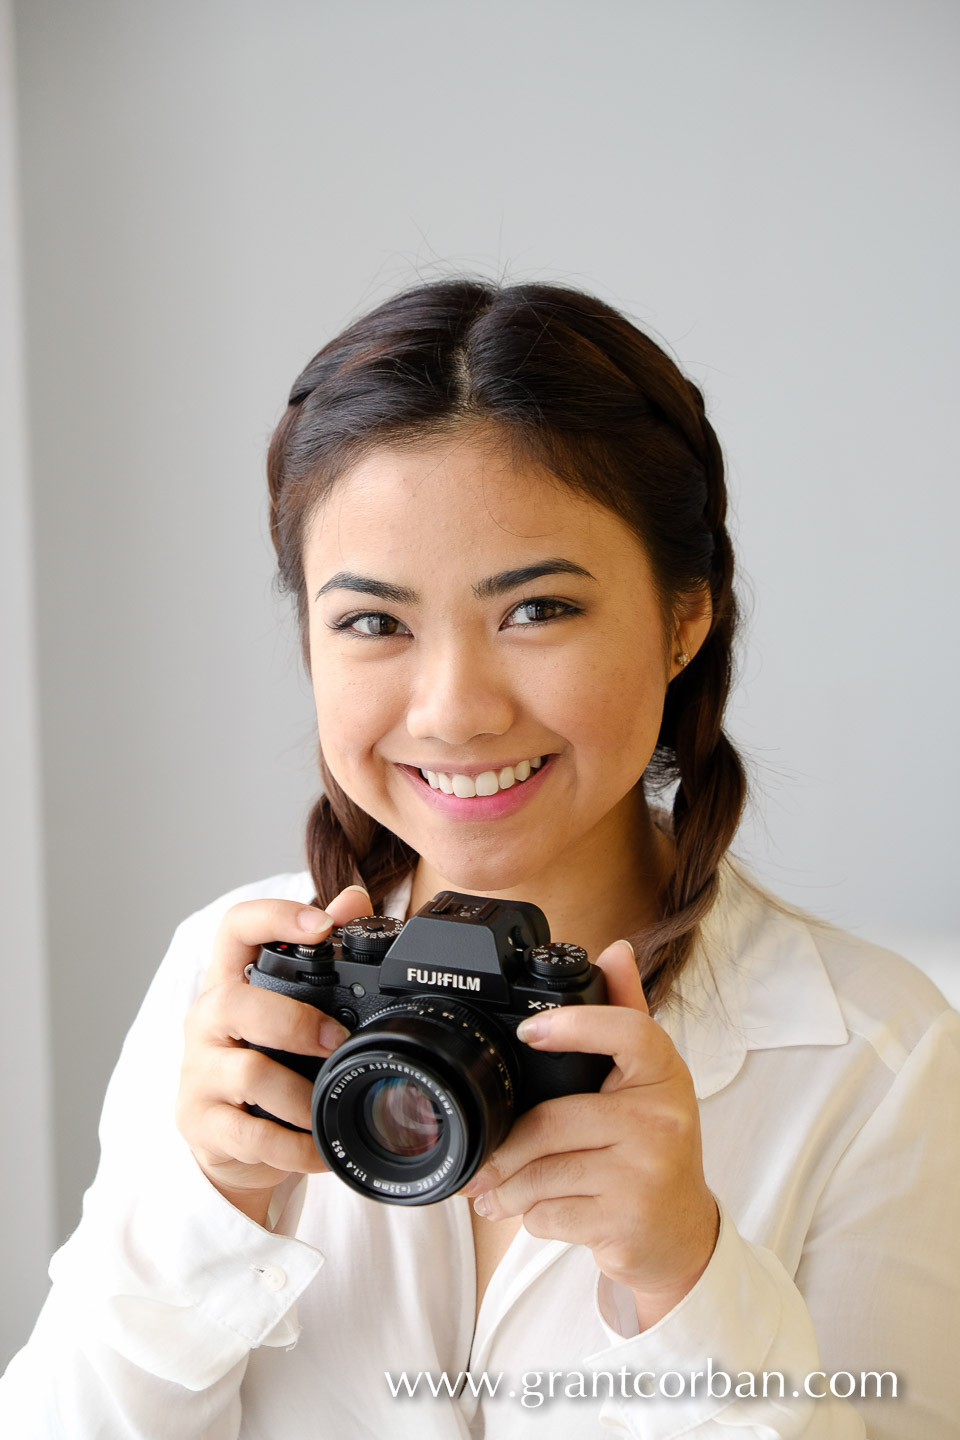
Portrait photo with the Fuji X-T2 shot with the XF 18-55mm R.

Portrait photo with the Fuji X-T2 shot with the XF 18-55mm R.

A possible future Fuji Ambassador? The Fuji X-T2 shot with the XF 18-55mm R

At last the Fujifilm X-T2 has been announced! For the past few months I was privileged to be one of the beta testers for the X-T2 prototype camera, in exchange for reporting back back to Japan regarding handling and improvements. I am a working photographer (not a reviewer) and have been shooting a large variety of photos with it, including His Royal Highness Prince Andrews visit to Malaysia a couple of weeks ago, a shoot in my studio of Miss Universe Malaysia Kiran Jassal, several weddings, and earlier today a Hari Raya AidalFitri celebration in Alor Setar and Jitra, Kedah, Malaysia. Unfortunately Fuji has told us that we can’t show any photos of the X-T2 prototype cameras because they are slightly different from the officially released camera. But they are perfectly fine with us letting you know our thoughts and showing you photos taken taken with it. That said, the X-T2 absolutely ROCKS!

Miss Universe Malaysia Miss Kiran Jassal. Fuji X-T2 with 56mm F1.2
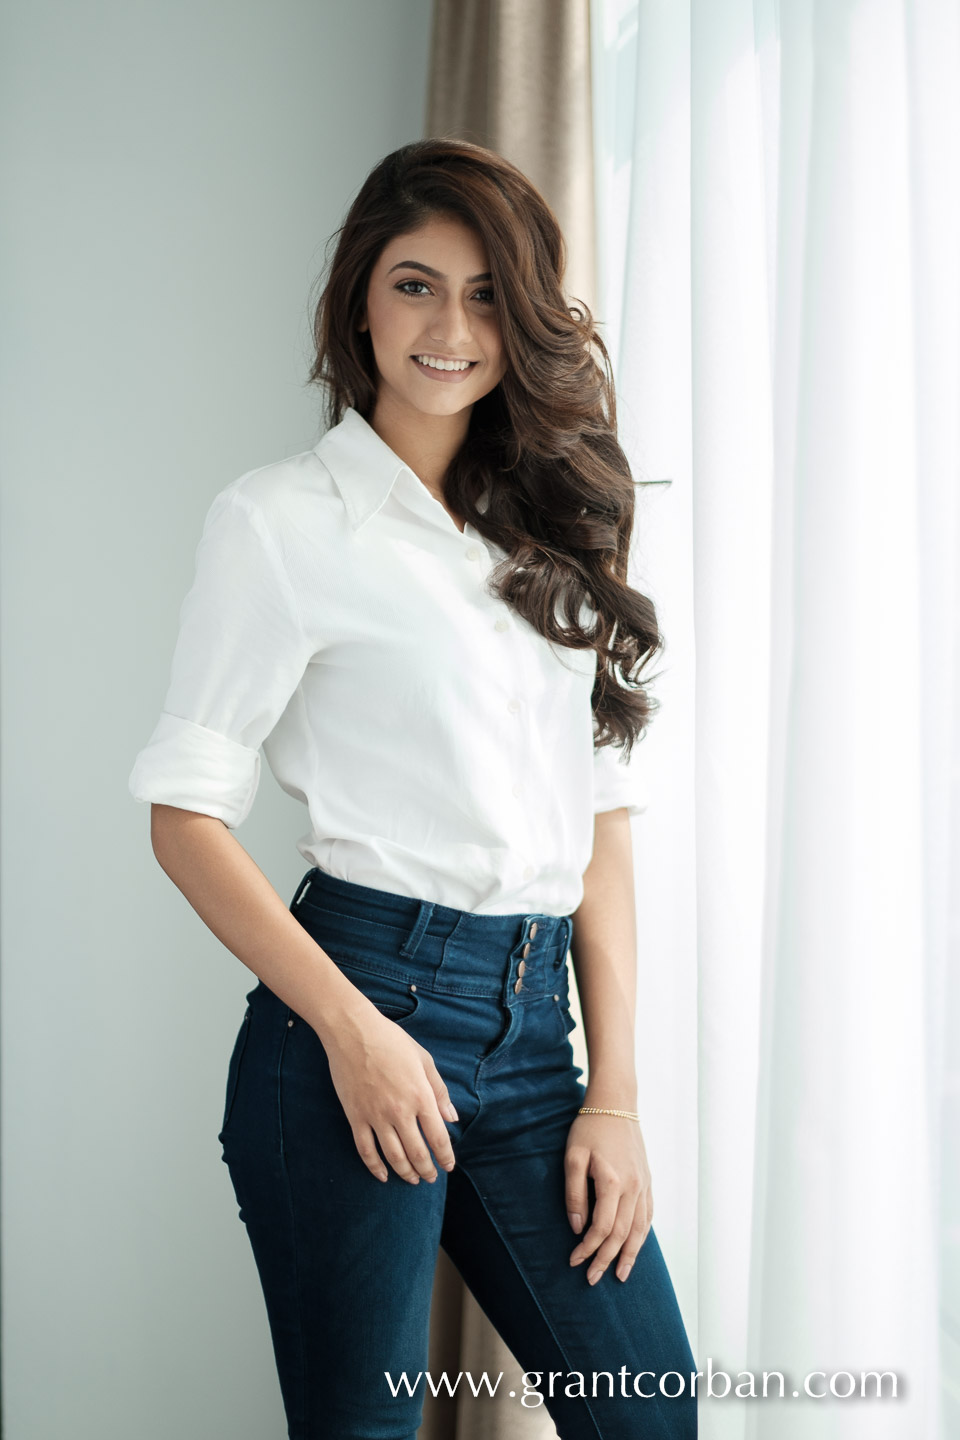
Miss Universe Malaysia Miss Kiran Jassal. Fuji X-T2 with 56mm F1.2

Miss Universe Malaysia Miss Kiran Jassal. Fuji X-T2 with 56mm F1.2

Miss Universe Malaysia Miss Kiran Jassal. Fuji X-T2 with 56mm F1.2

Miss Universe Malaysia Miss Kiran Jassal. Fuji X-T2 with 56mm F1.2

Miss Universe Malaysia Miss Kiran Jassal. Fuji X-T2 with 56mm F1.2

Now the list of improvements of the XT2 over the XT1 in no particular order.

  • TWO card slots! You can write to both at the same time meaning continuous backup which is essential to wedding photographers.
  • The X-T2 RAW files are ALREADY supported by Adobe!!!! What’s more Lightroom automatically adjusts for Fuji lenses without any user effort, unlike Nikon and Canon where you must turn lens corrections on, either as a preset or do it manually. This is why you will not find the X series cameras (other than the X100) or their lenses in Lightroom’s Lens Correction area.
  • 24 Megapixels, up from 16Mp.
  • 14fps RAW capture in continuous high…just in case you need it. The X-T2 must be in Electronic Shutter mode to achieve 14fps as when in Mechanical Shutter mode it is limited to the more sedate 11fps. The night photos shot at 12,800ISO featured below were shot in RAW at 11fps. At that speed the buffer fills quickly and in my experience you achieve only 22-24 frames before the camera starts to slow down. When the capture was set to Fine Jpeg I was able to get between 5-6 seconds at 11 fps before it began to slow down.
  • AF feels snappier and continuous focus has had a lot of effort put into it with 5 different user selectable modes with options for tracking speeds and the ability to ignore obstacles similar to what is on the Canon 5Dmk3. There is also one custom focusing option for the user to select their own tweaks.
  • The wifi connection seems noticeably more robust on the X-T2 when I compare to the X-T1
  • The XT2 is ever so slightly bigger…making it easier for manly hands to use. The X-T1 was a tad too small sometimes.
  • Construction feels tougher. The flaps covering the USB, HDMI, Microphone and remote ports is definitely stronger while the SDCARDs slot is now latched.
  • New joystick for focus point control.
  • Threaded shutter so we can now use threaded shutter release cables and soft release buttons.
  • 1/8000th mechanical shutter (up from 1/4000th on the XT1) and the now standard 1/32,000 electronic shutter. Want to shoot at F1.2 in the middle of the day? You can!
  • Flash sync raised from 1/160th to 1/250th second.
  • Ability to squeeze off single shots while in continuous low mode. With the XT1 you had to be content with 2 shots at a time when wanting to squeeze off only one shot in CL. The shutter button seems more sensitive.
  • Focus Assist function moved to pressing the rear dial inwards. No more accidental Q menu presses which I often did on the XT1 as the Focus Assist and Q buttons were too close for my hands.
  • Shutter speed and ISO dials can now be mechanically locked or released by depressing the central button. Old style was press and turn. New style is press and release, and the button stays as either locked or unlocked until pressed again. I really need to show photo but as mentioned I can’t show the prototype unit, but it is better than X-T1’s press, hold and twist.
  • The shutter speed and ISO dials are taller, making it MUCH harder to accidentally turn the metering or drive modes while adjusting ISO or shutter speed, which were painfully easy to move on the X-T1
  • The X-T2 rear screen tilts as it did before AND through a very clever engineering feat now flicks out 45° towards the right side, meaning low vertical or vertical tripod photos can be shot with ease! No need to lie on the ground anymore.
  • The newly designed vertical grip is well designed with a vertical component that increases the right hand grip-ability, and it now also accommodates 2 batteries. This means that along with the internal battery you can now have 3 batteries attached which is what I do. I was NOT a fan of the X-T1 grip and sold mine off quickly to someone who did appreciate it, but the X-T2 grip has changed my mind. The addition of there being 2 batteries and far better sturdier grip makes this a winner. The camera also tells you the state of each of the batteries, enabling you to swap out the flat ones. Still no chip in the batteries which means no percentages are given, just a visual indication of each battery level.
  • 325 focus points – not sure if I will use more the 3 or 4 🙂
  • 4K video. I am not a videographer but shot some for a commercial project earlier this week and the videographers with me who are Canon shooters were very impressed. 4K options include 24fps, 25fps and 30fps. Output can be sent to one of the SD cards or out through the HDMI output to an external recording device. Continuous focus while in video mode is very good and while I have no test data, feels superior to my 5Dmk3 in every way.
  • Tethered shooting in Lightroom is in the works and I suspect we will see it by the time the camera is released. I don’t use this or weddings but any commercial shoot or studio shoot it is a must.
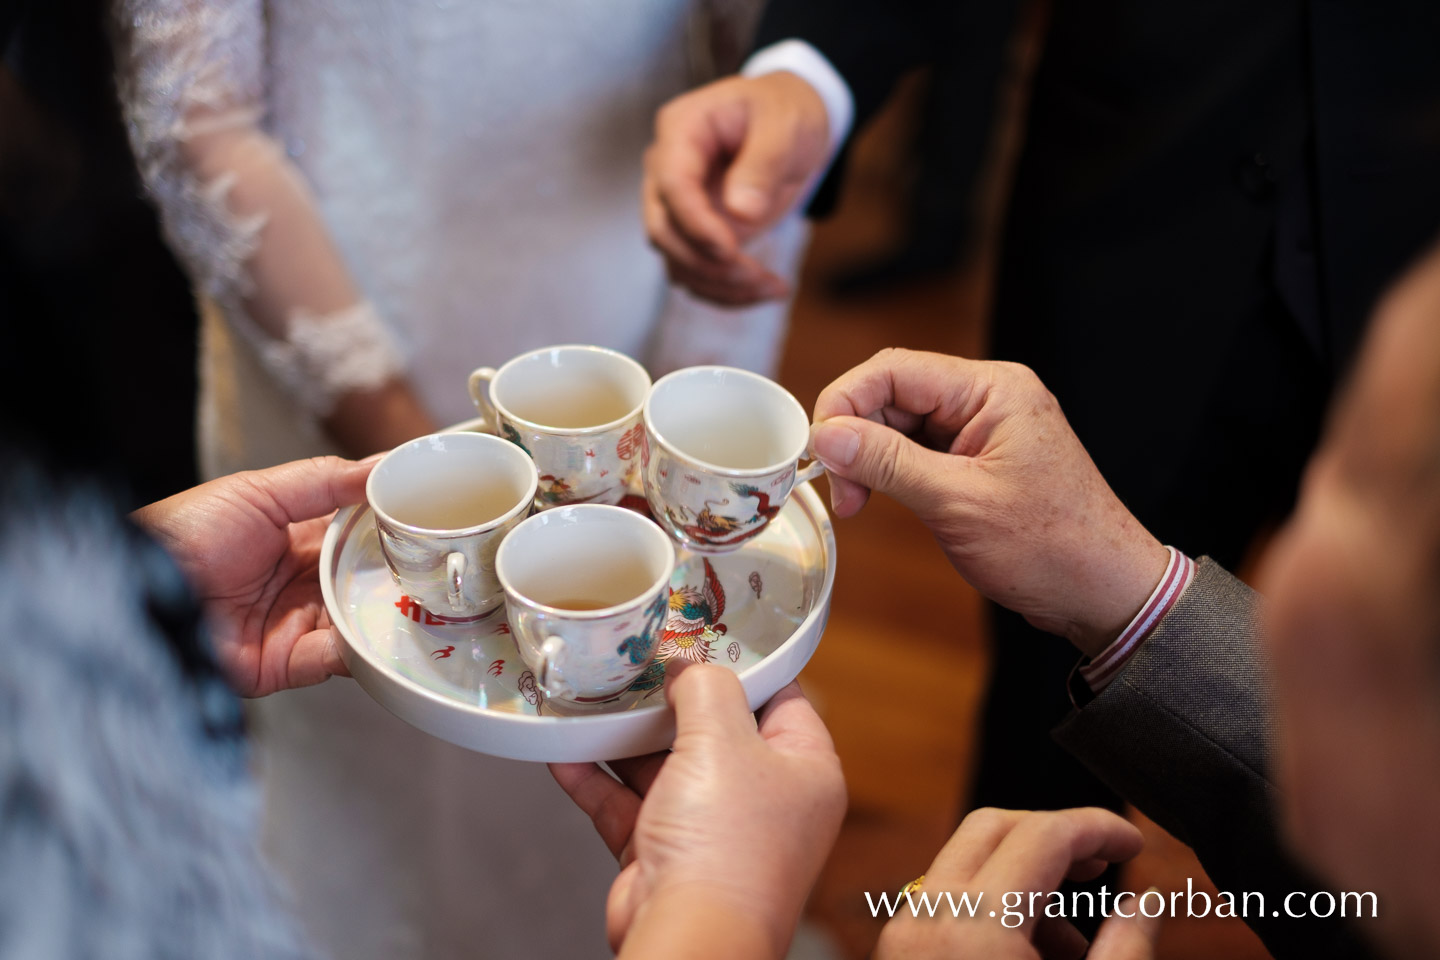
    Chinese Tea Ceremony. Fuji X-T2 with 35mm F1.4
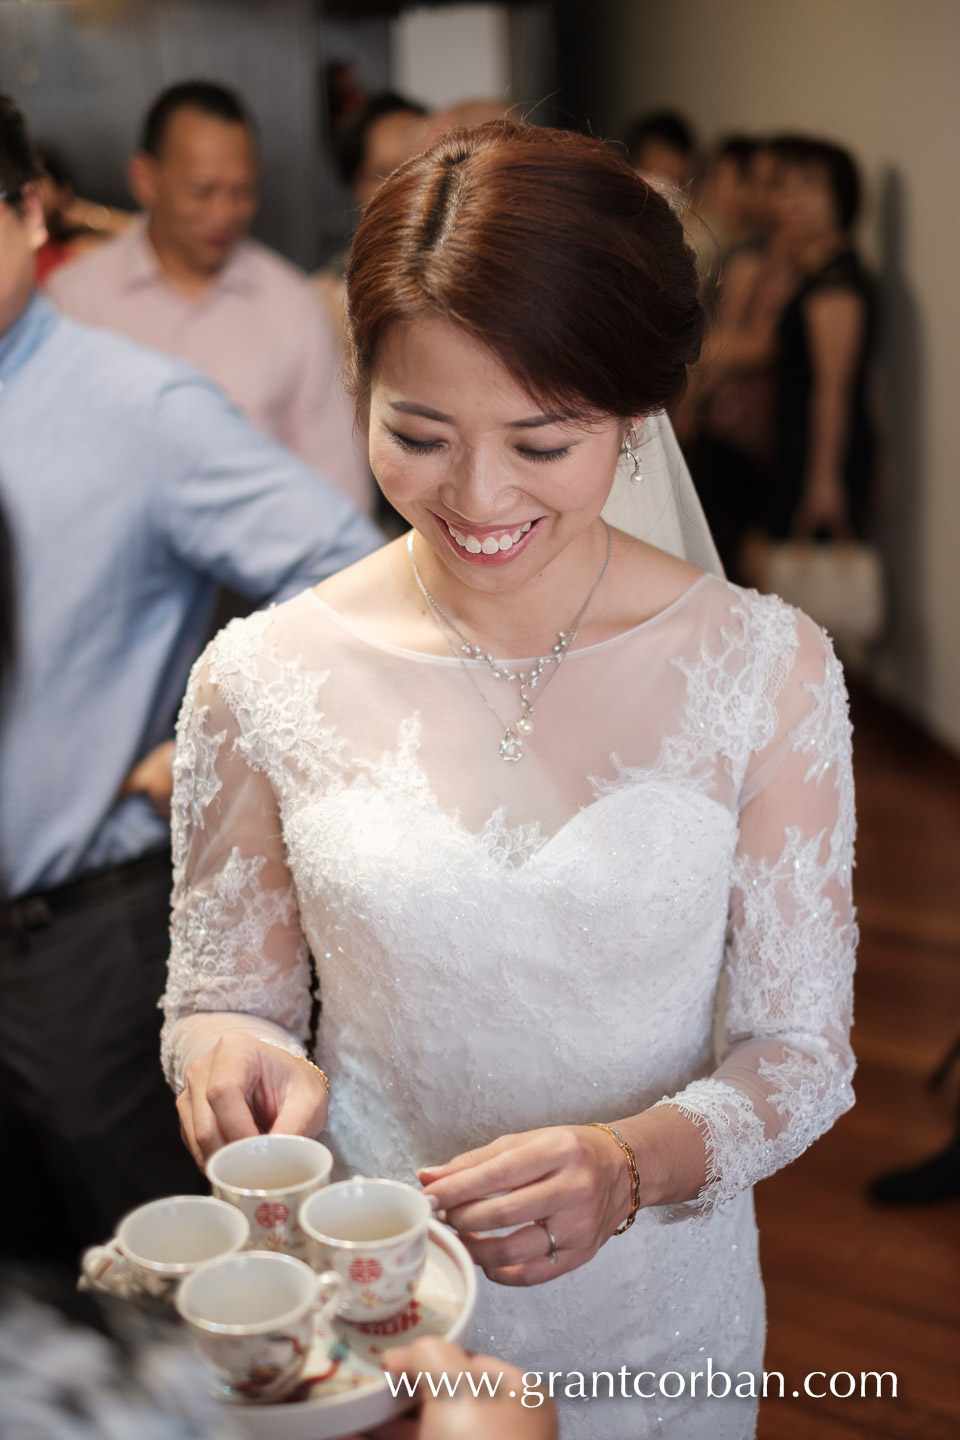
Chinese Tea Ceremony. Fuji X-T2 with 35mm F1.4

Chinese Tea Ceremony. Fuji X-T2 with 35mm F1.4

Chinese Tea Ceremony. Fuji X-T2 with 35mm F1.4

Church Wedding. Fuji X-T2 with 56mm F1.2
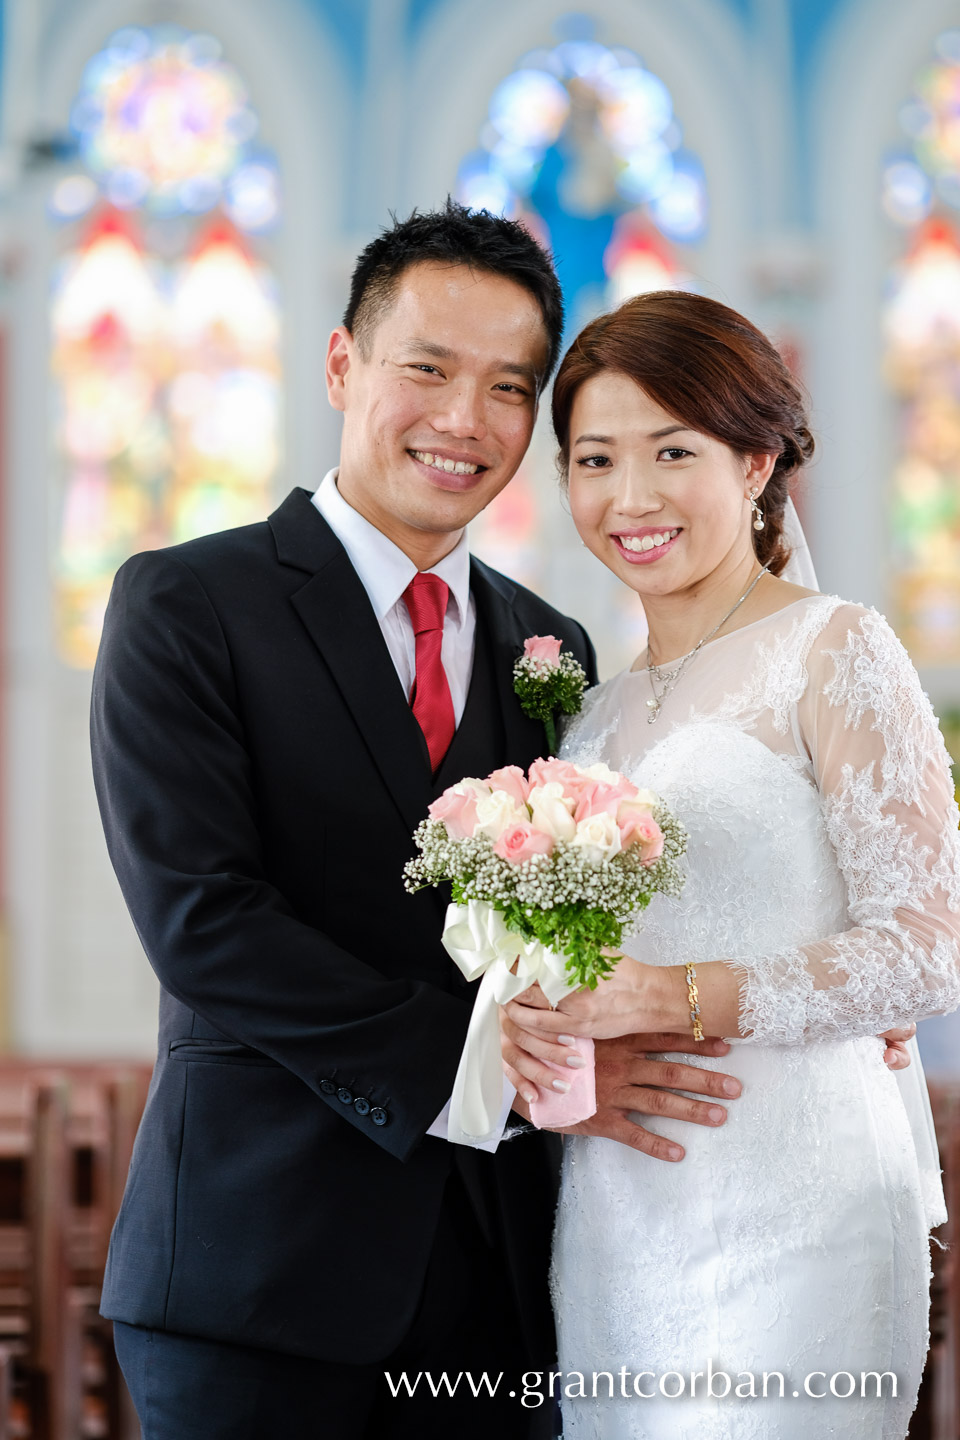
Church Wedding. Fuji X-T2 with 56mm F1.2

Church Wedding. Fuji X-T2 with 90mm F2.0

Church Wedding. Fuji X-T2 with 90mm F2.0

And the best reason to buy any Fuji Camera: Fuji knows and understands colour. This is where Fuji trounces everyone. They made their name with film and have crafted their cameras to emulate their film colour palettes perfectly. I am a RAW shooter however the ability to see the image exactly like it will be when you capture it due to the EVF and the superb Fuji sensors has meant I now shoot JPEG and RAW (old habits die hard) and often end up using the JPEGs as is. To understand this better read this article.

So are there any downsides?

  • Because it’s smaller than a DSLR, some people perceive you have brought a consumer camera to their shoot, not realising you are carrying a camera much more capable than many respected DSLRs.
  • Tethered Options: I asked Fuji regarding tethering and they have told me that Fuji and Adobe are working toward a tethering solution for the XT2 in Lightroom so expect to see that soon. Bad news is that Capture One is not interested!?! This is a downer as I like Capture Ones speed.

His Royal Highness Prince Andrew. Fuji X-T2 with 90mm F2.0

His Royal Highness Prince Andrew. Fuji X-T2 with 90mm F2.0

HRH Prince Andrew. Fuji X-T2 with 90mm F2.0

HRH Prince Andrew. Fuji X-T2 with 90mm F2.0

HRH Prince Andrew. Fuji X-T2 with 35mm F1.4

HRH Prince Andrew. Fuji X-T2 with 35mm F1.4

What could be improved?
The Custom “Q” menus. They are customisable but I really wish mode, aperture and shutter speed could be added into it. That way the shutter, ISO and aperture dials could be set to A, and then specific settings could be set much like the way the 5Dmk3 has its C1, C2 and C3. Being manual controls, if you want to switch several dials at once it takes time, and in a dark club or wedding venue it can be hard to do this.

Suggested Lenses – my go to choices. You may disagree.

  • 35mm 1.4
  • 56mm 1.2
  • 10mm-24mm f4
  • The cheap XC 50-230. I don’t use it for serious work but as a holiday lens it gives you mega reach. No more DSLRs on family holidays for me!
  • I also carry the 18-55 kit lens with me on work assignments as a general purpose lens or in my studio. The photos are nice and sharp and the top two photos of this post were taken with it.
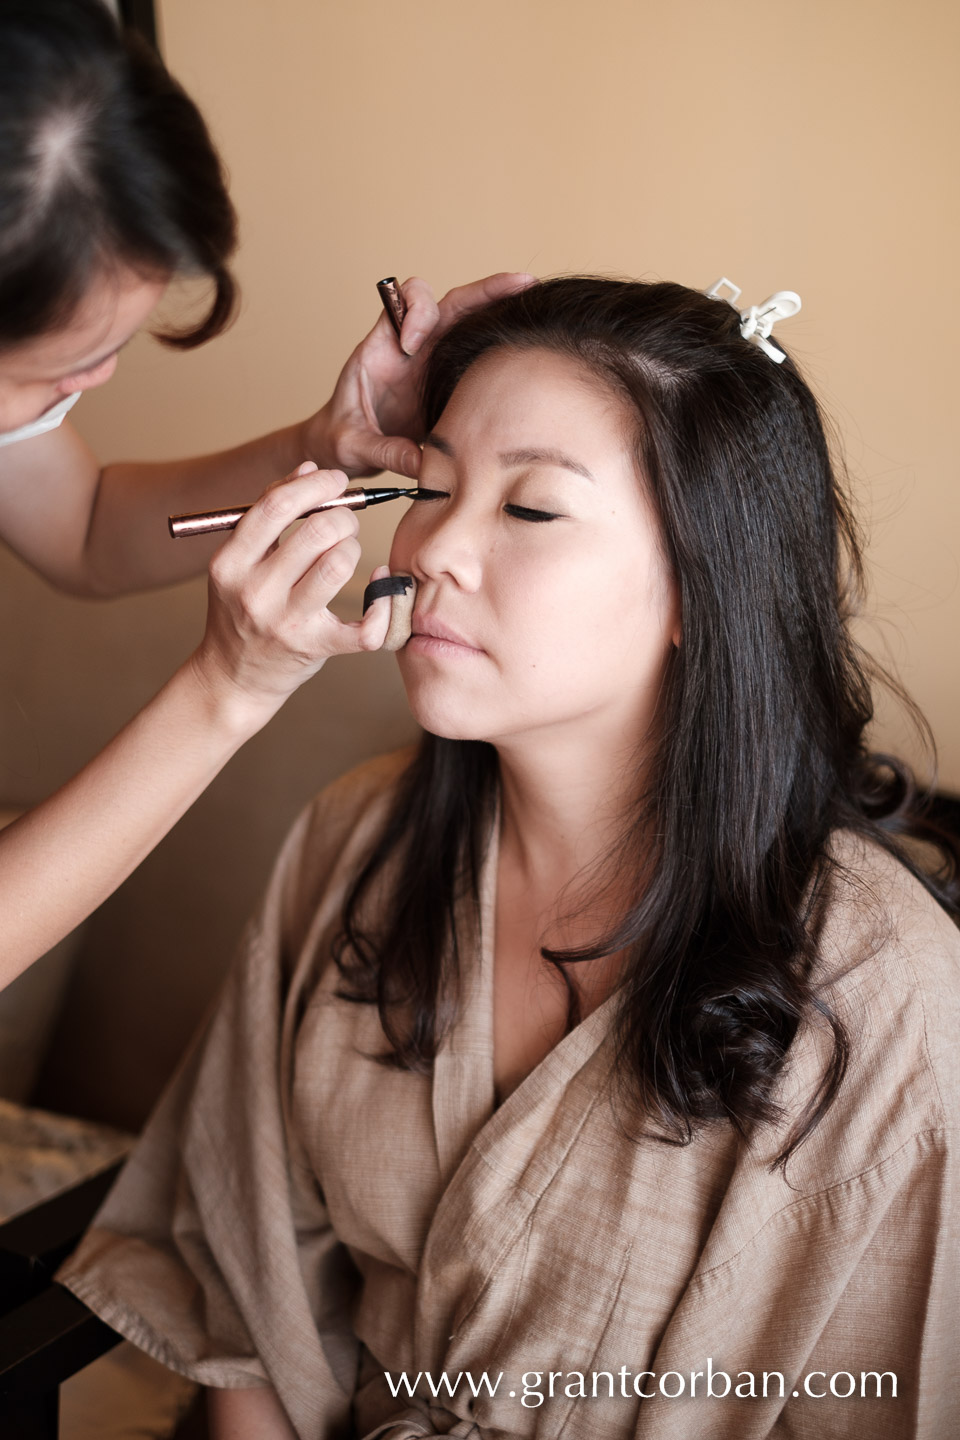
Fuji X-T2 with 35mm F1.4. Wedding at the Avani Sepang.
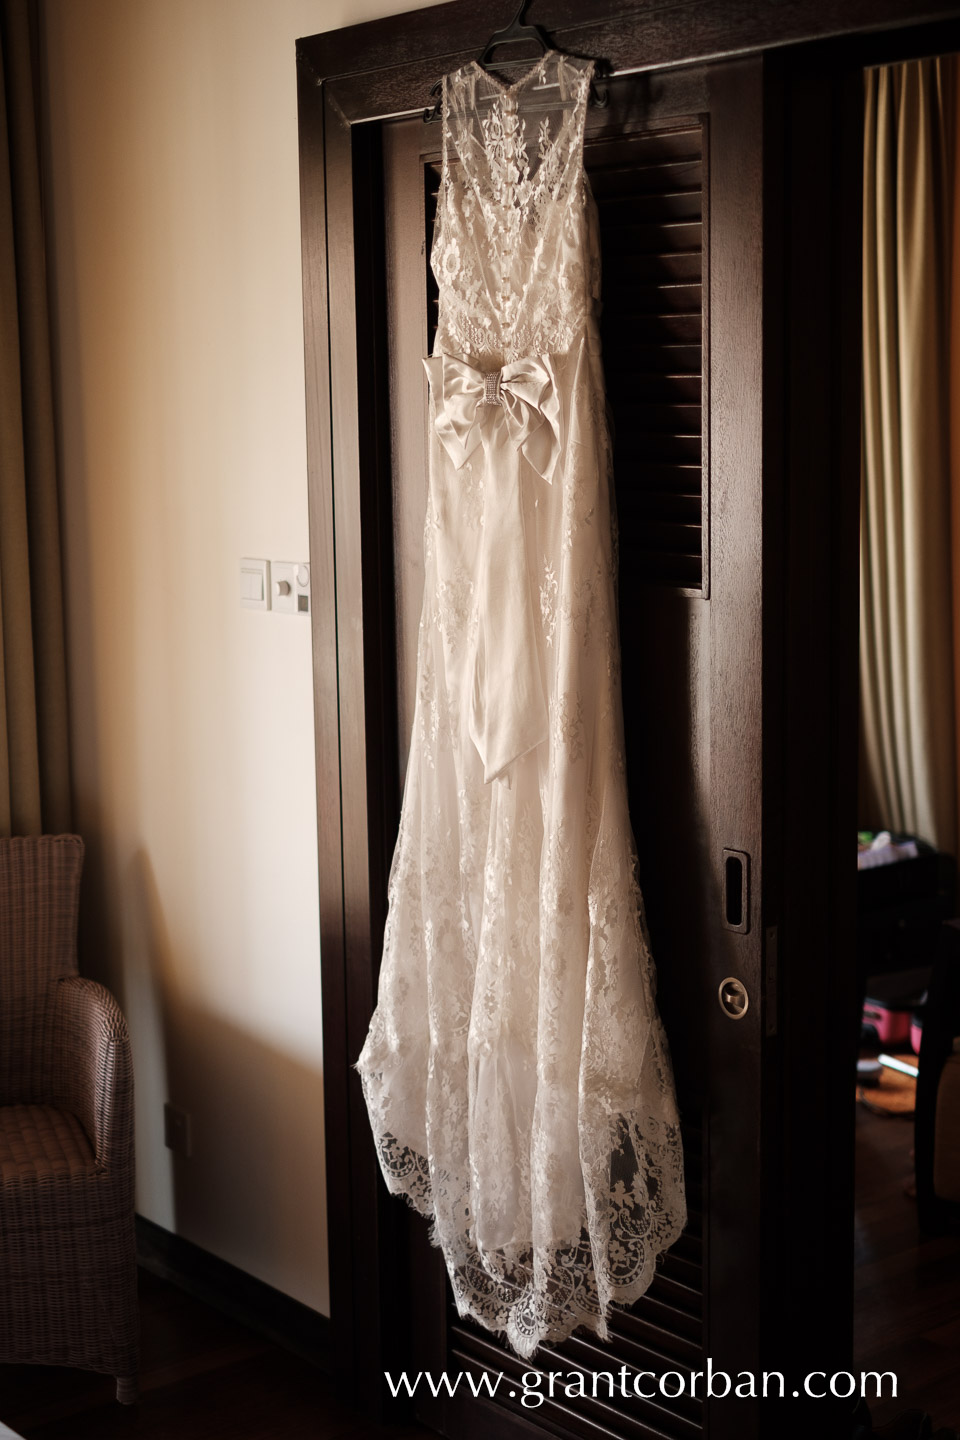
Fuji X-T2 with 35mm F1.4. Wedding at the Avani Sepang.
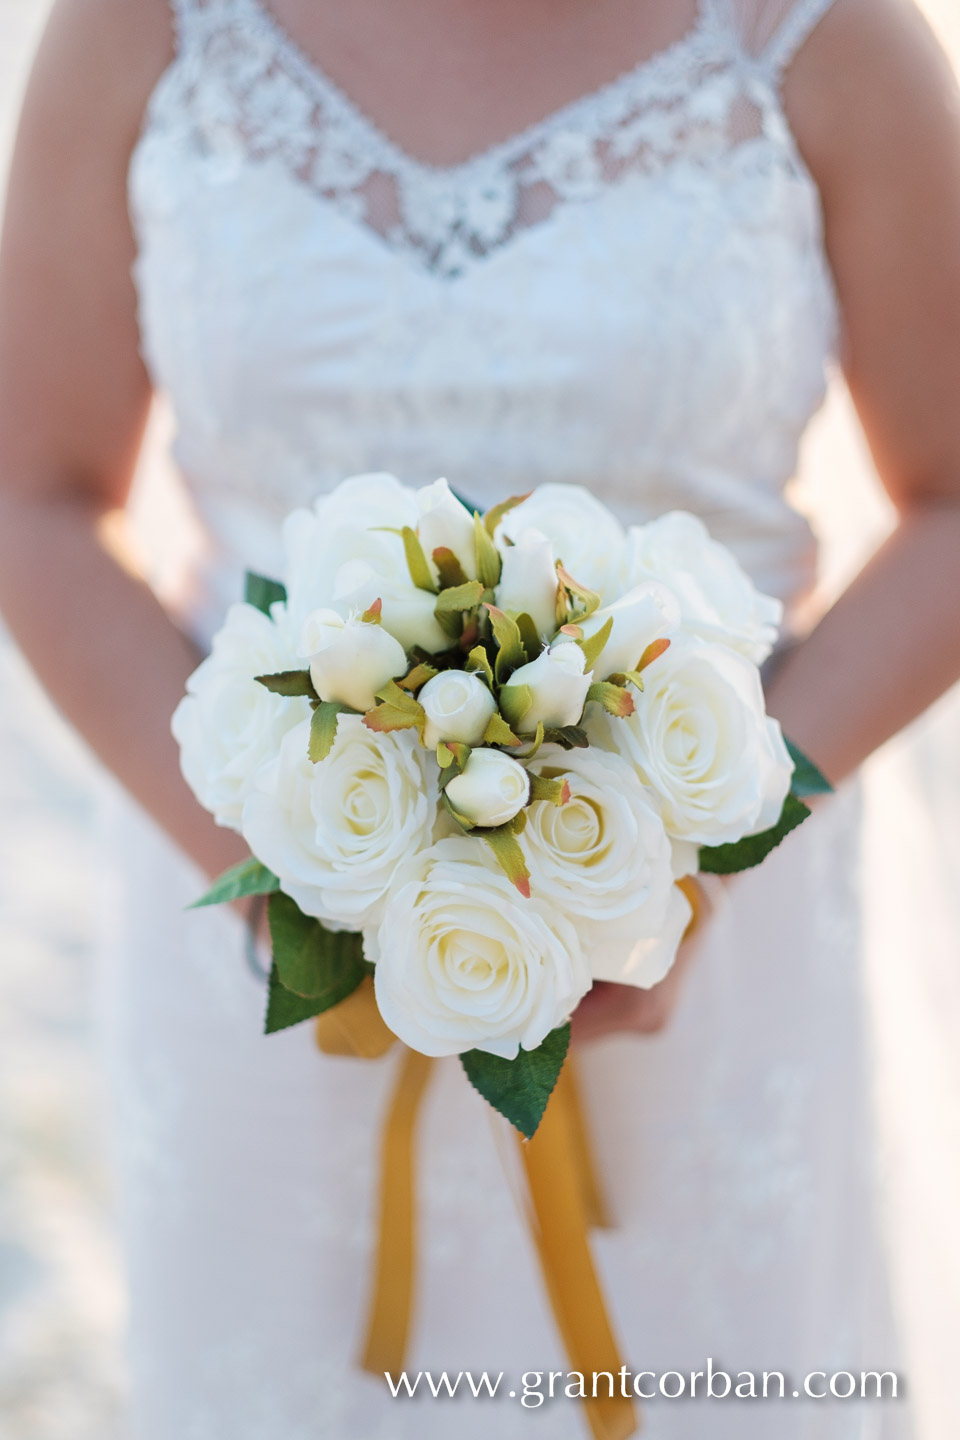
Fuji X-T2 with 35mm F1.4. Wedding at the Avani Sepang.

Fuji X-T2 with 35mm F1.4. Wedding at the Avani Sepang.

Fuji X-T2 with 56mm F1.2. Wedding at Avani Sepang.

Fuji X-T2 with 56mm F1.2. Beach wedding at Avani Sepang.

I think every serious Fuji photographer is going to have a very long hard look at the X-T2. It’s now the camera I reach for all the time. Pair it up with primes like the 35mm 1.4 or the 56mm f1.2 and let the magic begin.

There are some things bigger DSLRs do better, sports being a notable one, but for many other things the X-T2 is a better choice. It’s smaller then a DSLR, has a phenomenal 1/32,000s shutter so you can shoot wide open in bright sunlight, gives you instant preview before you shoot and has gorgeous film simulations built in.

Lastly, I will add a couple of photos taken at ISO12,800. I have added 1.5 stops so the detail is easier to see in the shadows. It reminded me of the D3s “noise”. Monochromatic. The exploding firework was captured as I was set on continuous high. All photos shot in RAW.
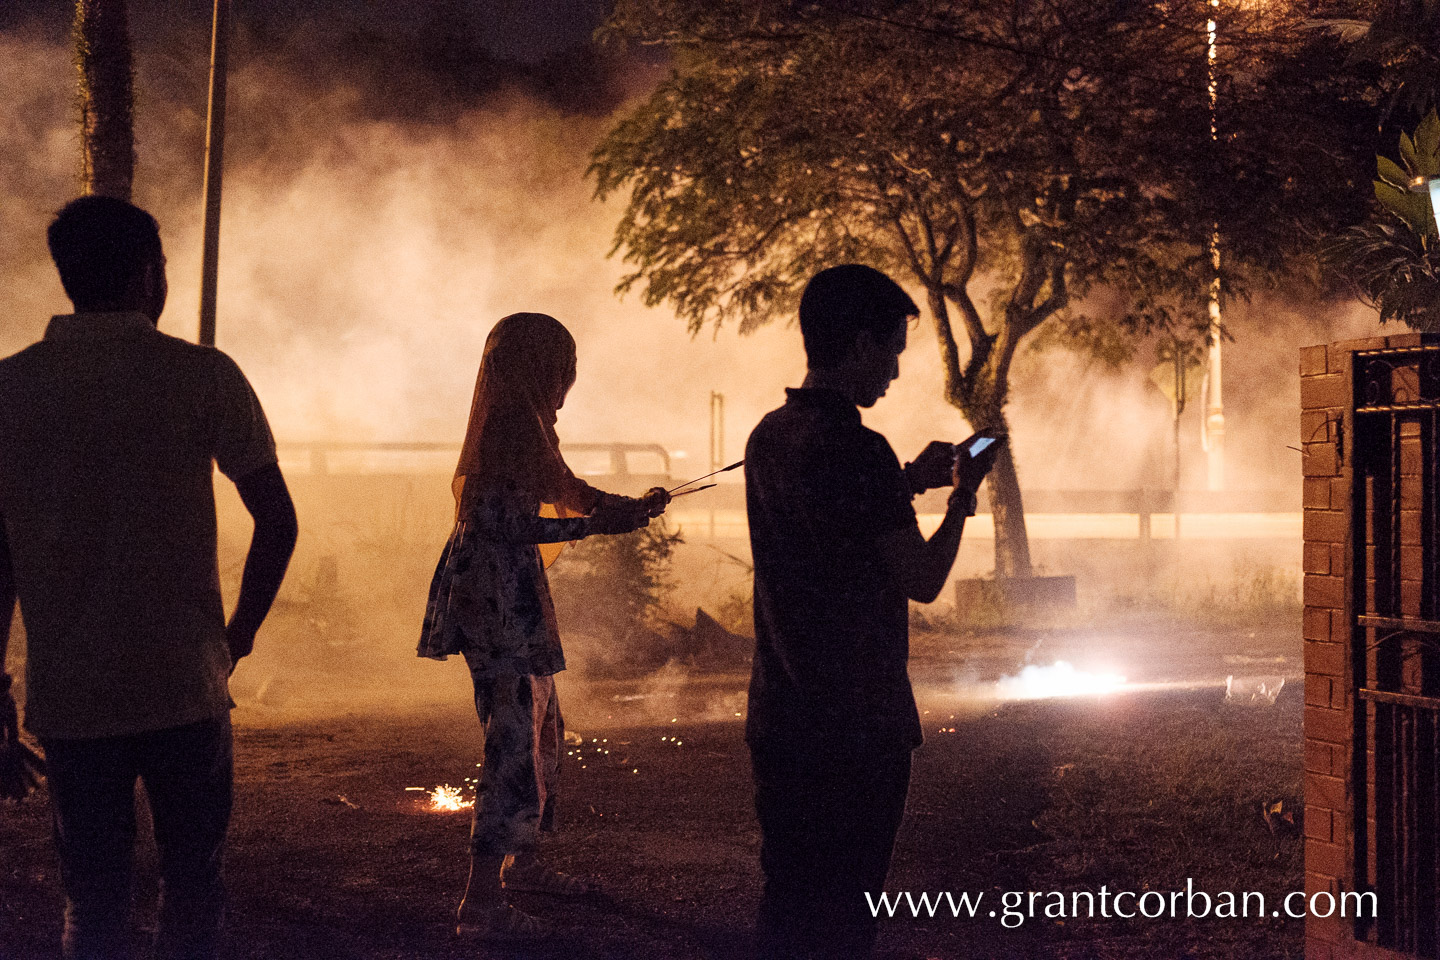
Fuji X-T2 with 35mm F1.4. ISO12,800 HariRaya Fireworks
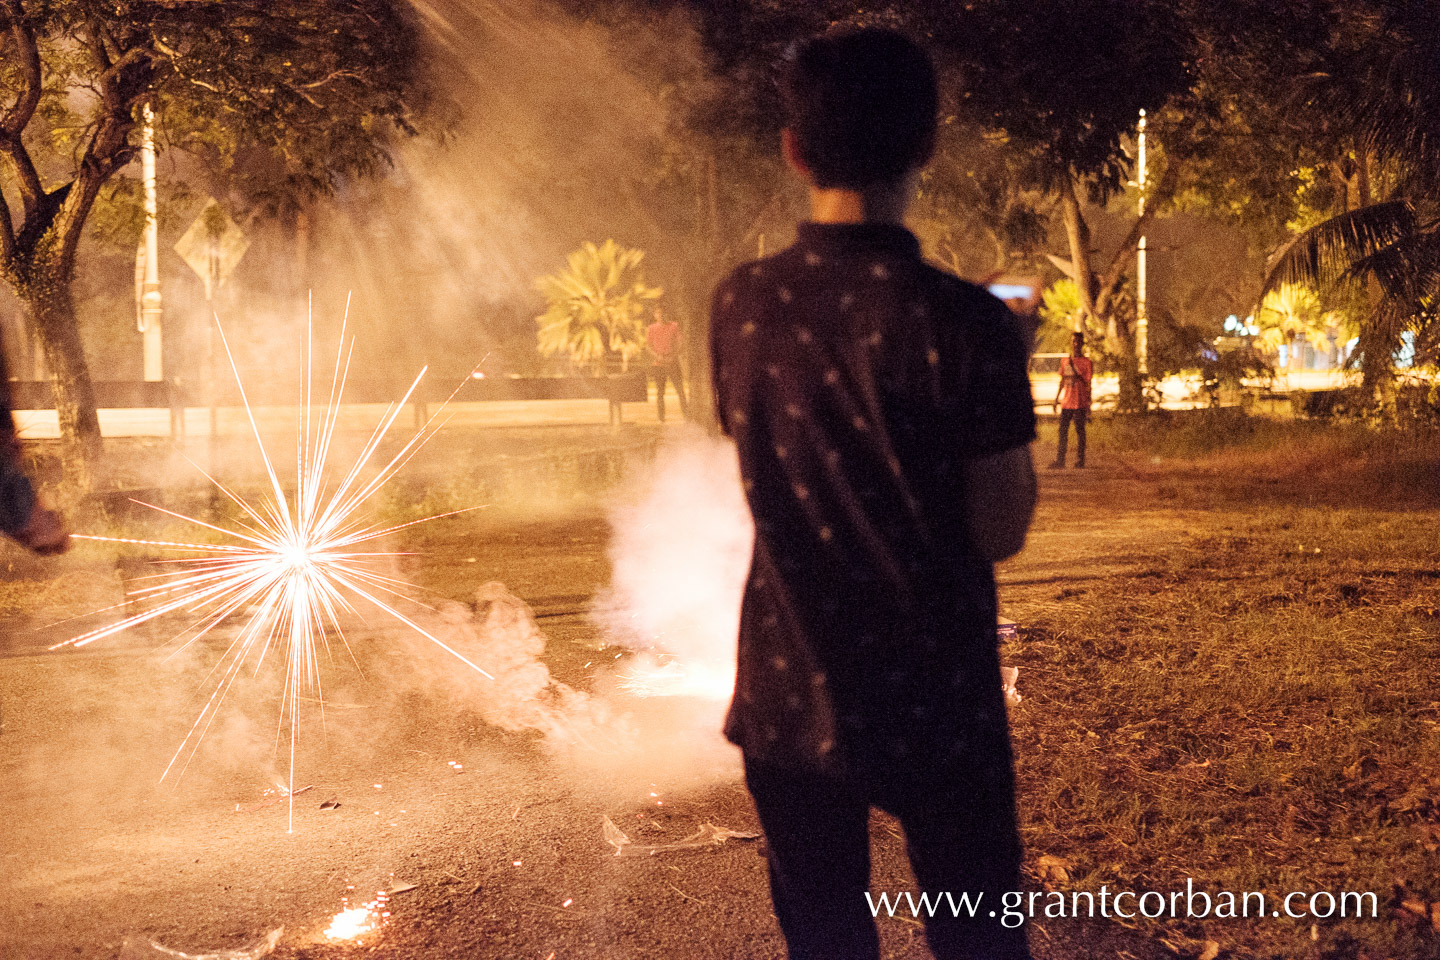
Fuji X-T2 with 35mm F1.4. ISO12,800 HariRaya Fireworks

Fuji X-T2 with 35mm F1.4. ISO12,800 HariRaya Fireworks

Fuji X-T2 with 35mm F1.4. ISO12,800 HariRaya Fireworks

#MissUniverseMalaysia

#MissUniverseMalaysia2016

#KiranJassal



Nikon 200mm F2.0 VR Bokeh Balls compared to Canons 70-200 VR2 and Fujis X-T1 with 56mm and 90mm

Nikon 200mm F2.0 bokeh

While I have the Nikon 200mm F2.0 VR I wanted to do a quick test to compare the bokeh of the portrait lenses I have on hand. These are the Canon 70-200 F2.8 VR2, arguably the best 70-200mm F2.8 in the market, along with the Fuji 56mm F1.2 and 90mm F2. Until recently I had the Canon 85mm 1.2 and the Canon 135mm F2.0. I have sold both with no regrets. The 135mm F2.0 was redundant since I prefer the look of the 200mm end of the 70-200mm F2.8 which has stabilisation thrown in as well. And the 85mm F1.2….since its release in 2006 I have owned 3, and sold them all. It’s a lens I have always wanted to like but the sluggish AF and number of missed focus photos while shooting at 1.2 has finally tainted any love I felt for it. When it nails AF its wonderful, but when it doesn’t clients blame you. I shoot for a living, so happy clients are my priority and any gear not making money gets sold. An 85mm F1.8 or 1.4 is a faster focusing, easier handling and all around more useful lens. I am kicking myself now as I had an 85mm 1.8G handy and completely forgot to shoot with it…duh!?!

Testing methodology needed to be something typical of what I would encounter in real life. I decided to photograph Santa since contacting a model in the middle of the night was not an option. And after all I want you to look at the lights on my Christmas tree and compare them shot for shot, while I kept Santa at roughly the same size in the frame. Working distances varied with the shorter lenses however both the Canon 70-200 and the 200 F2.0 VR were mounted by their tripod foot on the same tripod which was not moved. The shorter Fuji lenses were shot at a closer distance, which is what I would do had I been shooting a person.

Cameras were the D750, 5Dmk3 and X-T1. They are ranked here in order of autofocus speed. The X-T1 struggling to focus at anything close to the other 2. Apertures were set at the maximum. White balance was set to auto on all cameras but in post processing I set them all to the same white balance as the cameras were all different.

Enjoy

Canon 70-200 F2.8 Bokeh

Canon 70-200 ISO4,000 1/60sec at F2.8

Nikon 200mm F2.0 bokeh

Nikon 200 F2.0 ISO6,400 at 1/160sec & F2.0

Fuji X-T1 56mm F1.2R Bokeh

Fuji X-T1 56mm F1.2R ISO1,600 1/80sec at F1.2

Fuji X-T1 90mm F2.0 Bokeh

Fuji X-T1 90mm F2.0R ISO5,000 1/80sec at F1.2

Fujifilm 56mm F1.2R vs 56mm F1.2 APD Bokeh Comparison at a Wedding

Fujifilm 56mm F1.2R vs APD Bokeh

Now it’s time to go to a wedding with the final installment of this real world test. As weddings are incredibly fast moving there are limited opportunities to actually set up a tripod and play lens switching with a bride and groom waiting around for me. So this set of photos is strictly limited to while we were waiting at the dinner venue.

I DID shoot the bride and groom’s portraits with the 56mm F1.2 APD and at other times during the day but as this is a comparison I am not including the photos here. You can see the portraits in this post.

If you missed part one, the introduction and corporate shoot then click here. To see the model comparison, click here.
Fujifilm 56mm F1.2R vs APD Bokeh

The “plain” 56mm F1.2R’s bokeh

Fujifilm 56mm F1.2R vs APD Bokeh

56mm F1.2 APD. Note the difference to the left of the cake.

Fujifilm 56mm F1.2R vs APD Bokeh

56mm F1.2R Control. Note the slightly “onion” bokeh

Fujifilm 56mm F1.2R vs APD Bokeh

56mm F1.2 APD. Again the difference seems obvious.

Conclusion: I entered this test a wee bit skeptical. I had read other peoples reviews and they seemed to indicate that the difference between the two lenses was not that noticeable.  The first few photos I took left me feeling similar but as I continued the differences became more  apparent, perhaps because I knew what to look for. Would a paying client notice? Not likely. Would you as a photographer notice? Yes.

I fell in love with the lens and it did not take long for me to be leaving my “normal” 56mm 1.2R at home and using the APD version exclusively. When it came time to return the lens I tried to delay doing so as long as I could. But all good things come to an end. So there is my endorsement. If you can afford it, get it.


Fujifilm 56mm F1.2R vs 56mm F1.2 APD Model Shoot Comparison

Fujifilm 56mm F1.2R vs APD Bokeh

This model shoot was a really fun project. Having an experienced model really helps the shoot run smoothly. As before all photos taken at F1.2 in aperture priority on a tripod. Let’s see how the 56mm F1.2 APD stacks up against the R.

Fujifilm 56mm F1.2R vs APD Bokeh

56mm F1.2R looks nice

Fujifilm 56mm F1.2R vs APD Bokeh

56mm f1.2 APD – Subtle improvement over the standard 56mm.

Fujifilm 56mm F1.2R vs APD Bokeh

56mm F1.2R again nice.

Fujifilm 56mm F1.2R vs APD Bokeh

56mm f1.2 APD – Look at the detail/bokeh in the flowers behind the model.

Fujifilm 56mm F1.2R vs APD Bokeh

56mm F1.2R looking good again

Fujifilm 56mm F1.2R vs APD Bokeh

56mm f1.2 APD- Compare the yellow on the lanterns in the area to the left of the model.

Fujifilm 56mm F1.2R vs APD Bokeh

56mm F1.2R

Fujifilm 56mm F1.2R vs APD Bokeh

56mm f1.2 APD Subtle but noticeable difference in the lanterns at the top right.

Fujifilm 56mm F1.2R vs APD Bokeh

56mm F1.2R. Again a pretty effect.

Fujifilm 56mm F1.2R vs APD Bokeh

56mm f1.2 APD – again a nicer control in the out of focus bokeh.

End of part two. Lets move to part 3 where we get some wedding detail shots. Click here for Part 3

If you missed part one, the intro and corporate shoot, please Click here.

Fujifilm 56mm F1.2R vs 56mm F1.2 APD Corporate Shoot Comparison

Fujifilm 55mm F1.2R and APD Comparison test
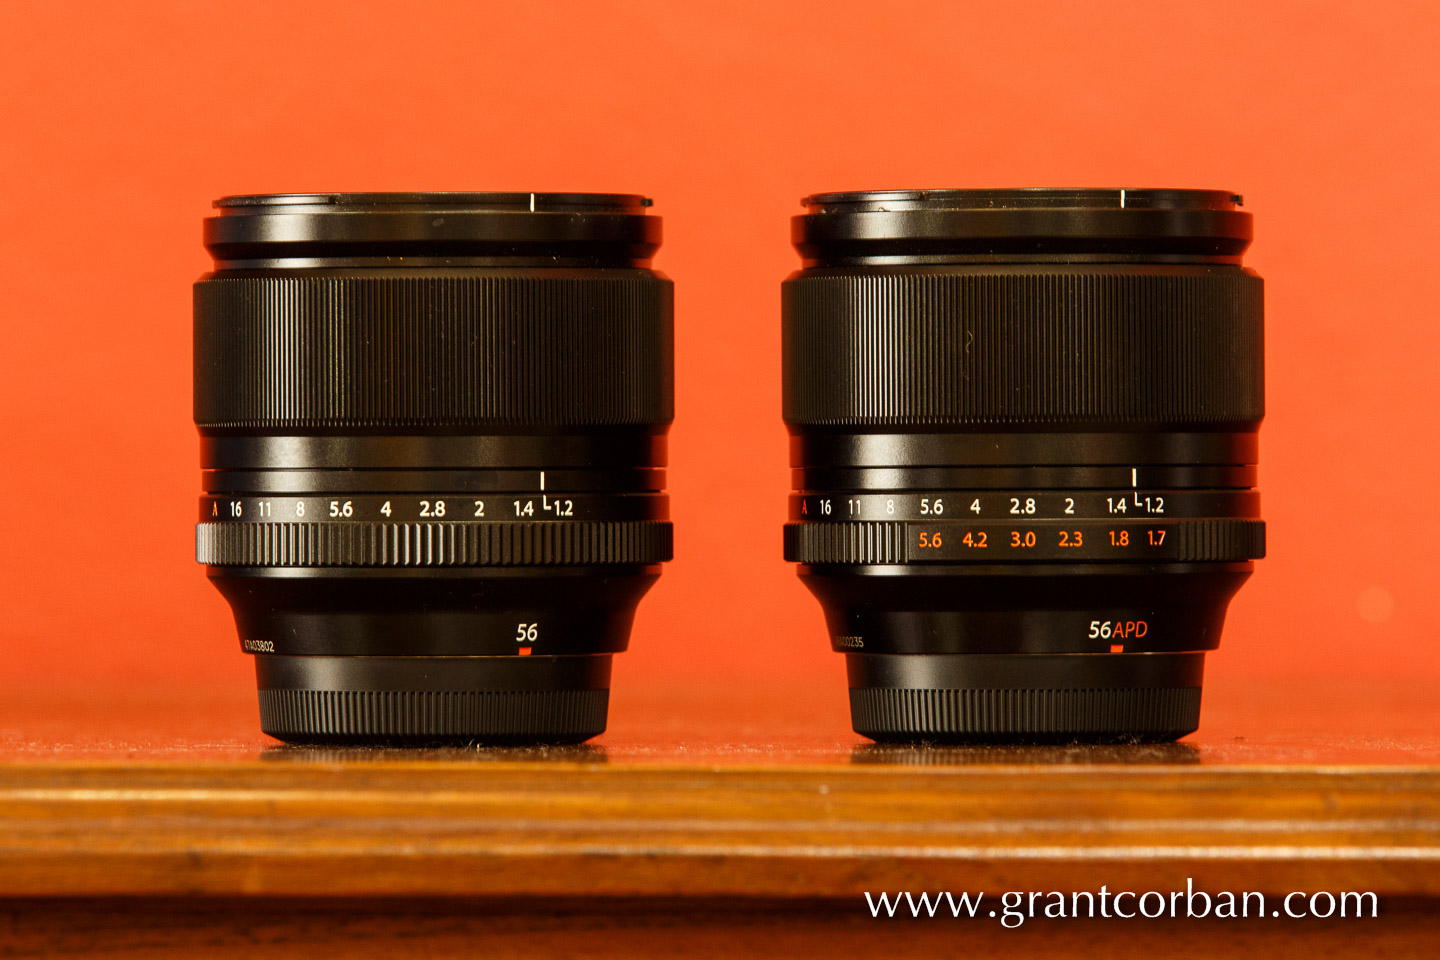
Side by side the 56mm F1.2R and APD version look nearly identical

I had an opportunity recently to compare the Fujifilm 56mm F1.2R with the newer APD version. They are both currently in production so the Fuji user has a choice on which to purchase. The APD version is about 60-70% more expensive. That’s about USD600 which may or may not be a major factor in your decision to purchase the lens. It is designed for the portraitist with the goal of controlling bokeh. Some disclosure. I own the original 56mm F1.2R and like it a lot, so had high expectations.

Outwardly the lenses look nearly identical. The giveaway is the “APD” on the lens barrel and orange T-stop markings. T stops show the actual light transmission. The special APD lens element does two things. The first is a positive and the second not so much.  Firstly and most importantly it makes the bokeh more pleasing to the eye and secondly it absorbs some of the light going through the lens. This means that shooting wide open at F1.2 you are only going to get the same amount of light transmission to the sensor as if you were shooting at F1.7 on the normal 56mm F1.2R. This is not an issue when shooting as todays sensors can simply bump the ISO a little. Please note that at F5.6 the effective T stop transmission is the same on both the lenses so the T stops markings cease at that point.

As shooting brick walls is not my thing I decided to take the lenses out on some actual photo shoots over a couple of weeks. My methodology was to shoot using a tripod so as to keep the subject and backgrounds similar while I changed lenses alternating between the R and APD versions. All photos were taken in aperture priority with the aperture set at F1.2 which is likely the most common scenario when using this lens.

Please also note that the differences appear more subtle on this web page than they do on a 24″ screen or in a print. The first four images below left me nonplussed. The differences were only obvious after very close scrutiny on a large screen. On the back of the camera I couldn’t see any differences so was feeling “ho-hum”. However when we started to shoot outside the difference in the background foliage was very apparent.

All photos taken with the Fujifilm X-T1.

Fujifilm 56mm F1.2R vs APD Bokeh

56mm F1.2R Control Photo

Fujifilm 56mm F1.2R vs APD Bokeh

56mm F1.2 APD. Note the subtle difference in the flowers and chairs.

Fujifilm 56mm F1.2R vs APD Bokeh

56mm F1.2R. Nice enough.

Fujifilm 56mm F1.2R vs APD Bokeh

56mm F1.2 APD. Again, very subtle difference.

Fujifilm 56mm F1.2R vs APD Bokeh

56mm F1.2R Control Photo. I liked the painterly foliage…until…

Fujifilm 56mm F1.2R vs APD Bokeh

56mm F1.2 APD. Very obvious quality difference in the foliage.

Part two will feature a model shoot. Click HERE for part 2


Property of Grant Corban Photography Sdn Bhd (666138-V)