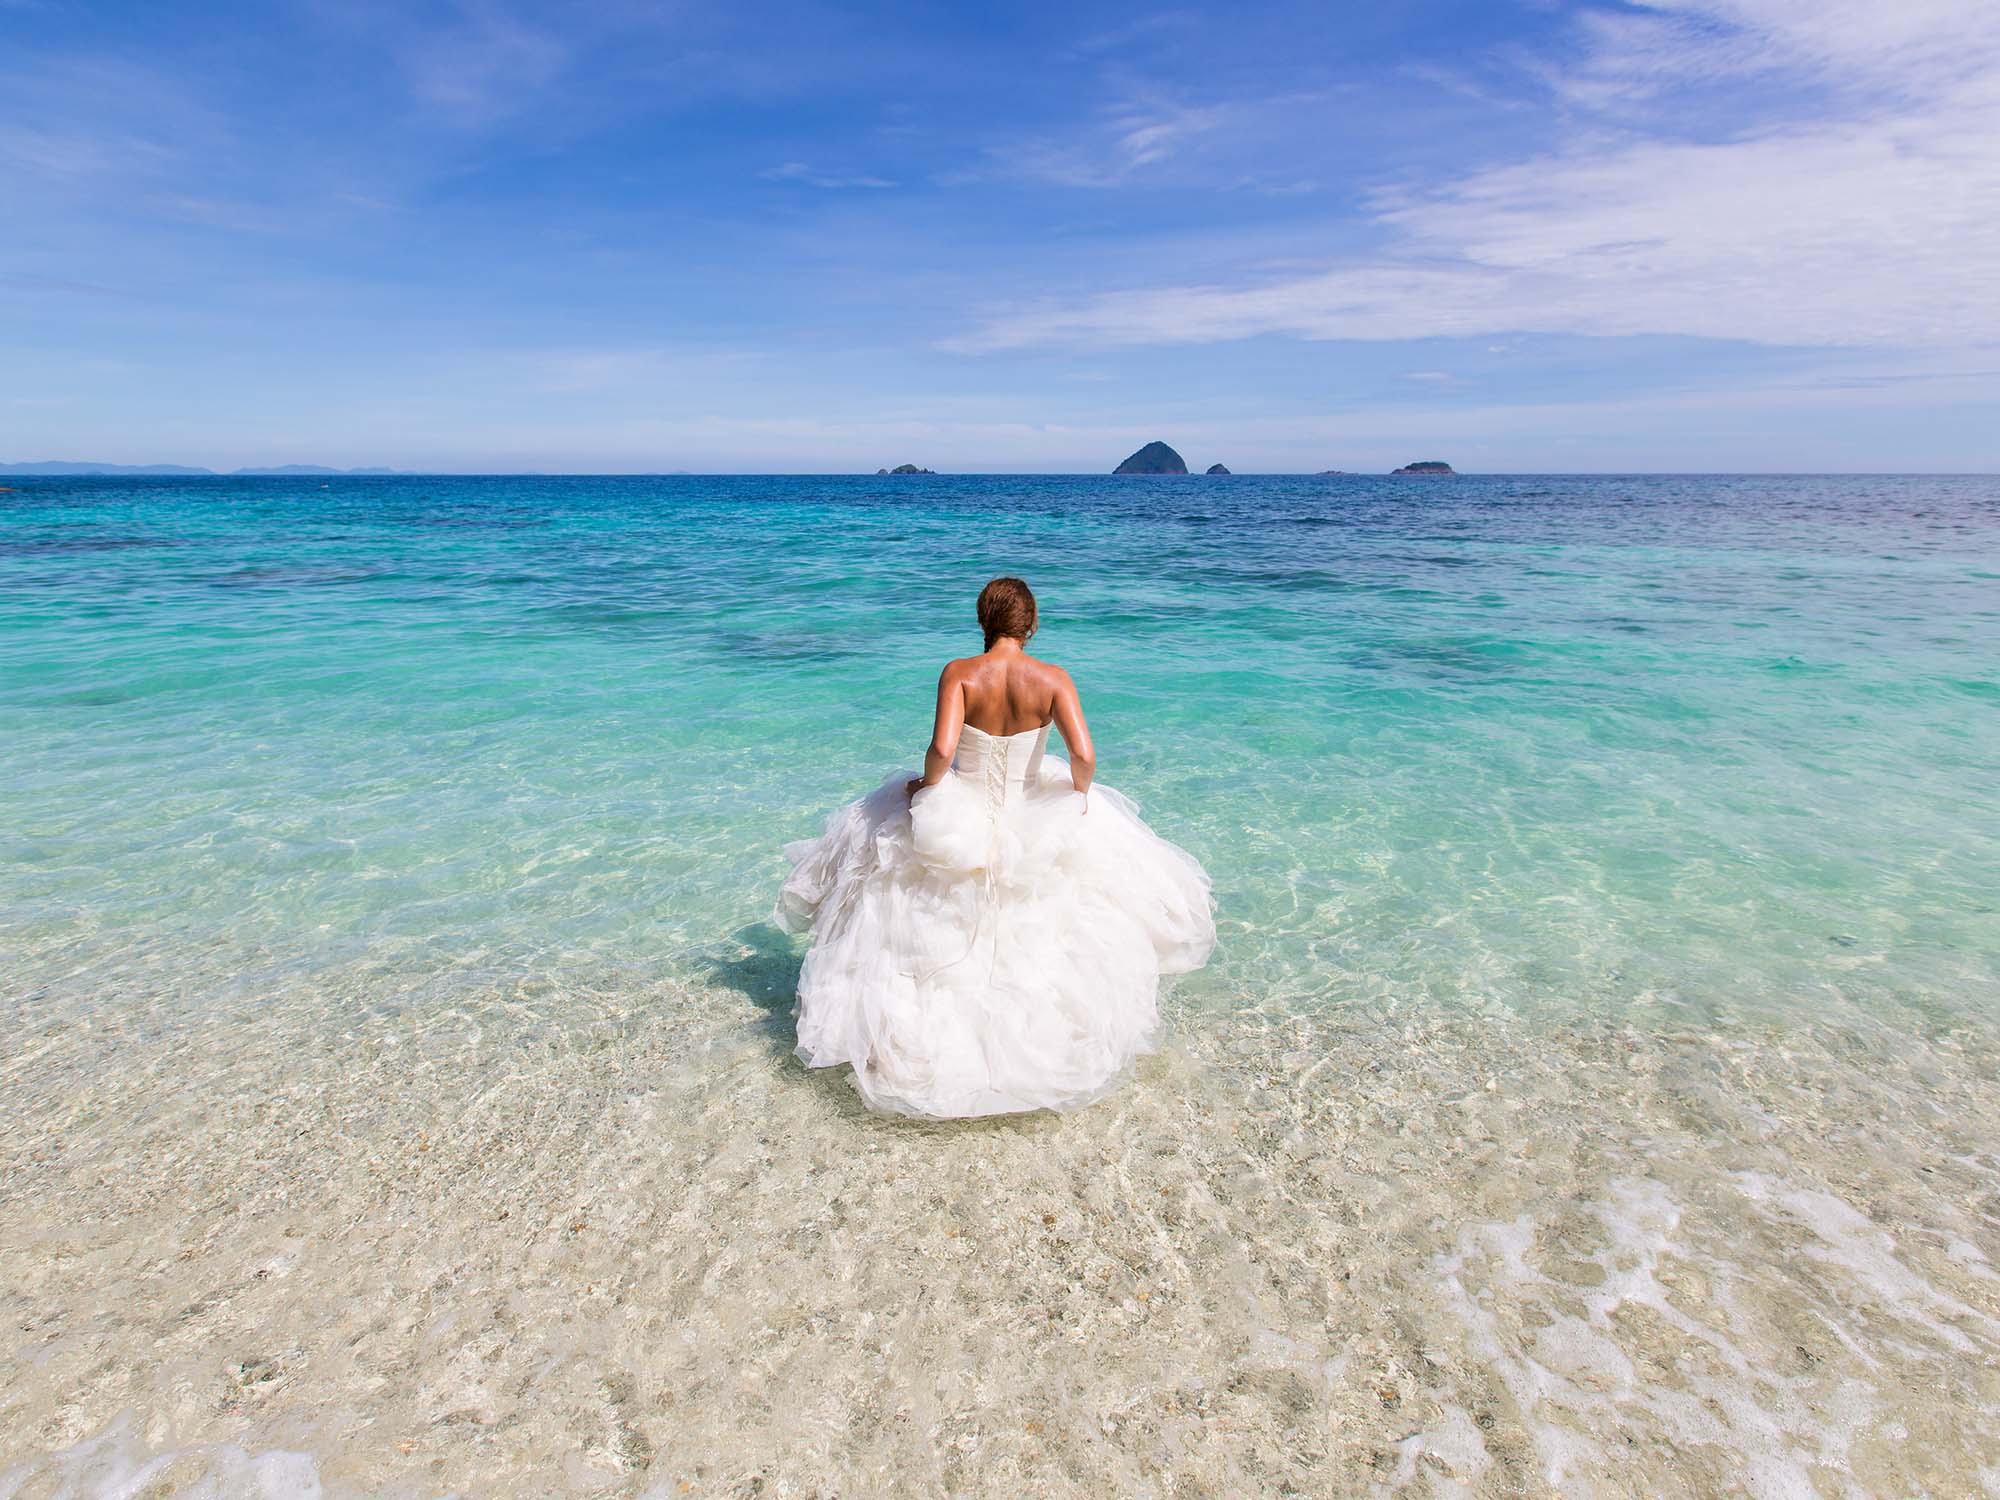
Last week I endured the heat and severe sunburn (left the sunscreen in the hotel room aaargh!!!!) on Perhentian for a honey moon shoot…OK endured is a harsh word….in reality ENJOYED is a the totally accurate term! :-) I was approached by Pina and Ahmed’s close friend Zina from Germany a few weeks ago and asked whether I would be open to heading up to Pulau Perhentian Kecil to cover part of their honeymoon. For those outside Malaysia reading this “Pulau” is Malay for “island” and “kecil” means small, important as there are two islands in the Perhentian group.
The photography shoot was going to be broken into two parts. First was above water portraiture and the second part was a trash the dress. Above water was going to be no problem provided I compensated for the very bright sunshine which tends to give very harsh shadows. The way to do this is usually to use a diffuser to shade the face to eliminate “squinting” and then use a fill flash to rebalance the shady parts with the strong sunlight. As there was only me and no assistants we did what we could. Big thanks to Ahmed for being my impromptu lighting stand!
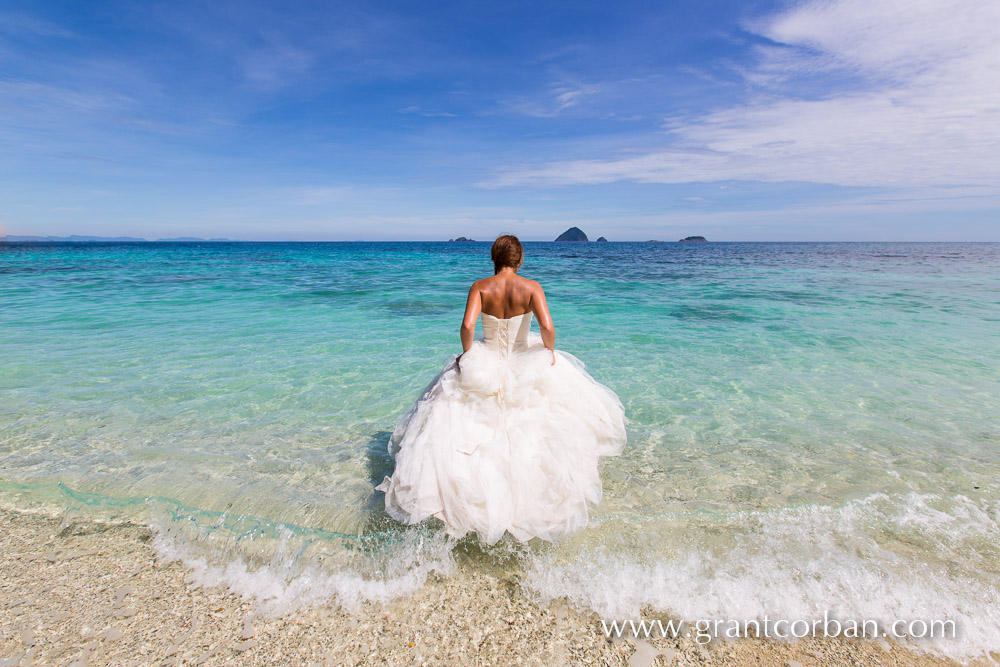
Part of the plan was to trash the dress or “drown the gown”. This can be fun and romantic. While we were shooting some Malay girls in Tudungs from one of the dive boats walked over to have their photos taken with Pina, and later on the main beach we certainly attracted attention. It’s only when you get in the water that you realise how buoyant a bridal gown really is. Safety was also a primary concern for me as swimming in a gown isn’t something you can do with any real conviction….not that I have tried! 😀
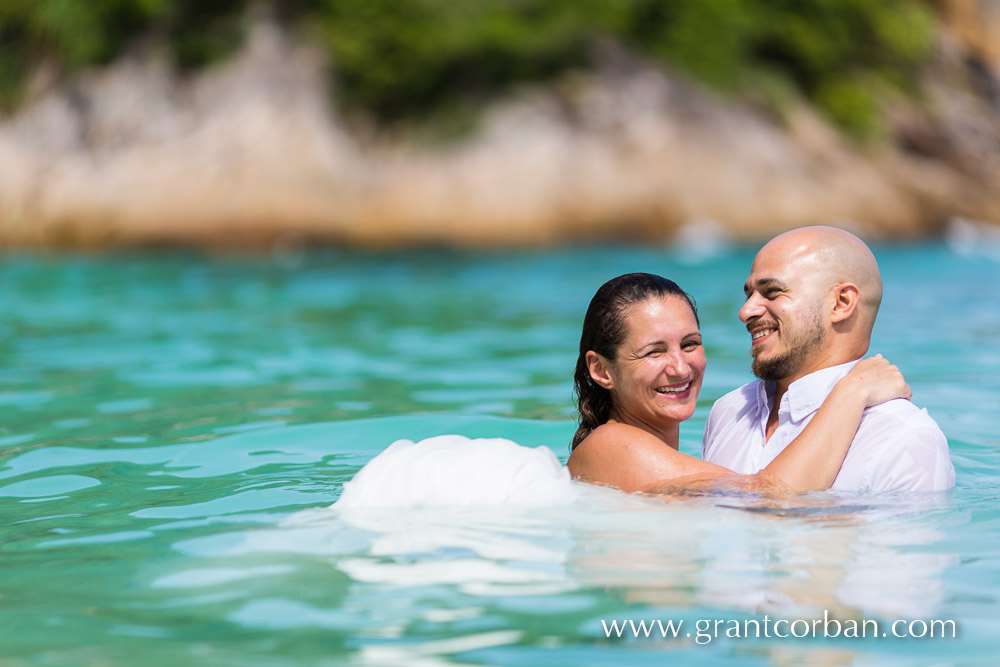
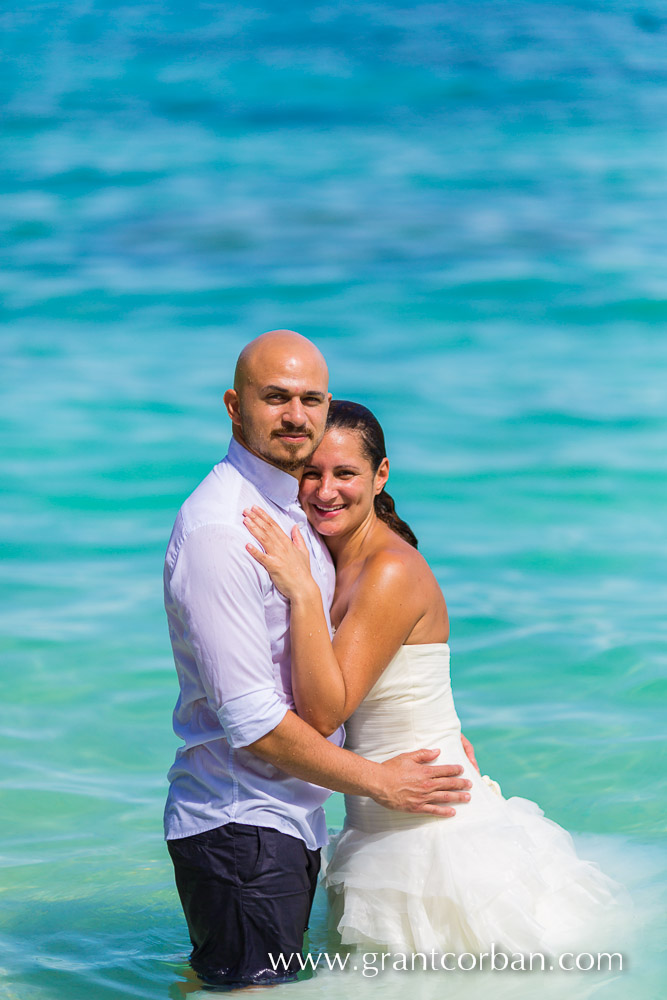
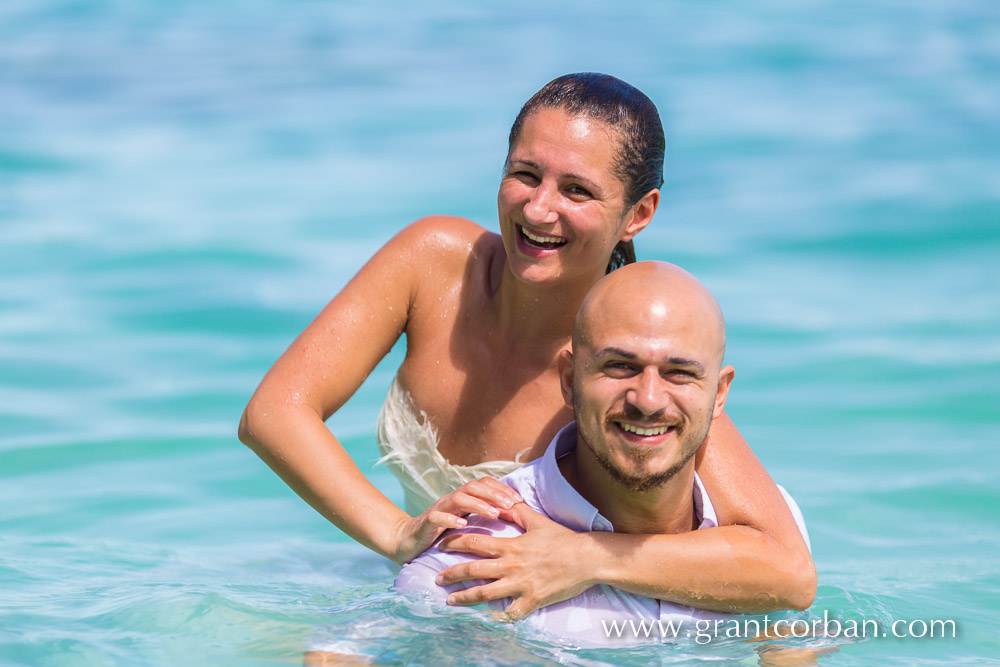
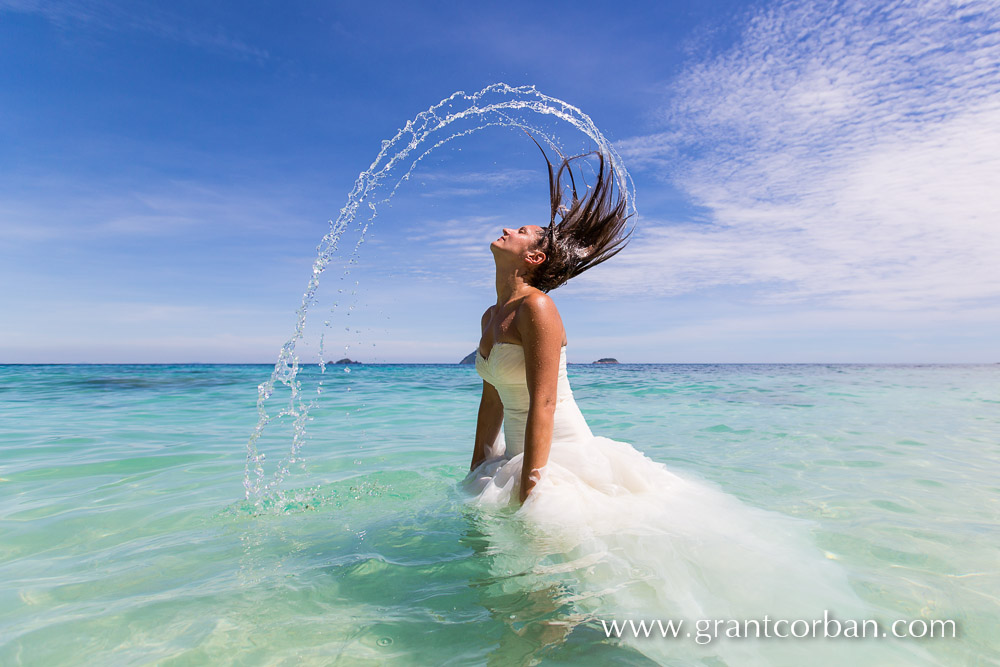
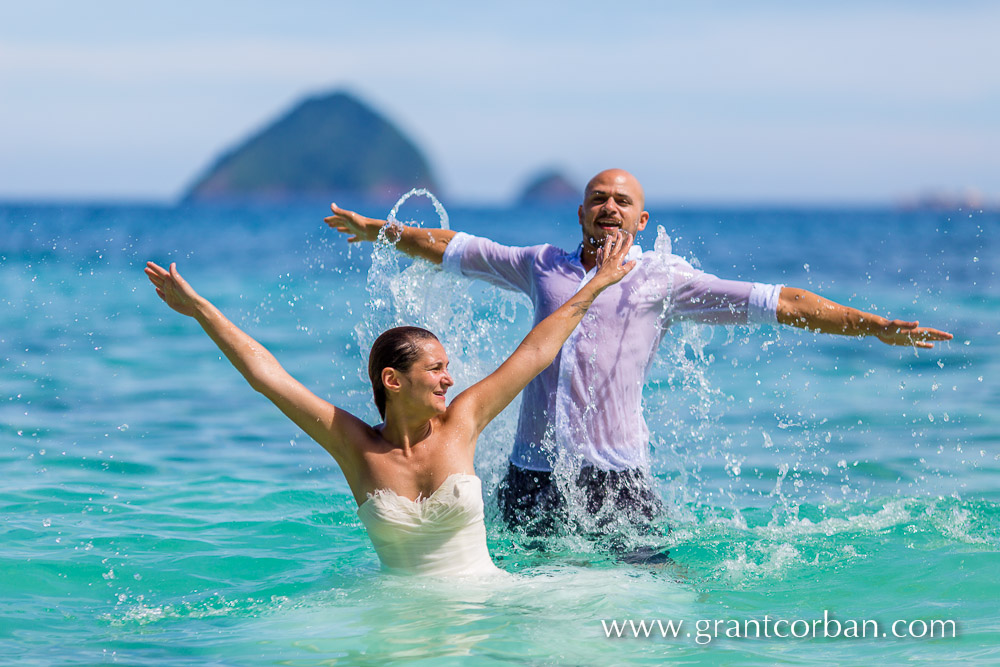 We planned the trash the dress shoot to include underwater photography. A lot of people were really supportive for this. One of my scuba diver friends loaned me her Canon Ixus which came with an Ikelite underwater housing and my good friends at FujiFilm Malaysia loaned me one of their waterproof cameras. Unfortunately both are jpeg only cameras without the ability to shoot in RAW so editing after the event would have been exceptionally difficult. This is because a jpeg photo has very little additional information that is crucial to properly editing afterwards. Shooting underwater imposes challenges due to the rapid fall off of light and absorption of the red to yellow part of the colour spectrum in the first metre or two underwater. With jpegs you lose all the important info so I really wanted to use a camera with RAW support for the underwater images. More on this further down the page. BTW ALL of these images were shot in RAW and developed in post production. I don’t like the word photoshopped as that implies major fakery. I develop images in a similar fashion we used to do in the darkroom, brightening and darkening parts of the image and either increasing or reducing contrast. That’s it.
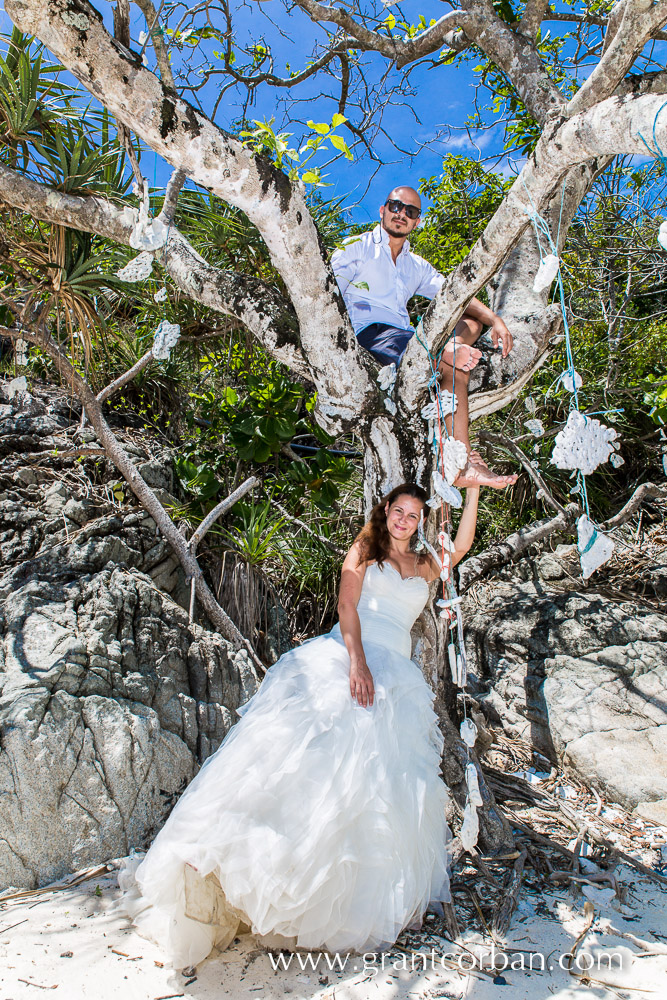
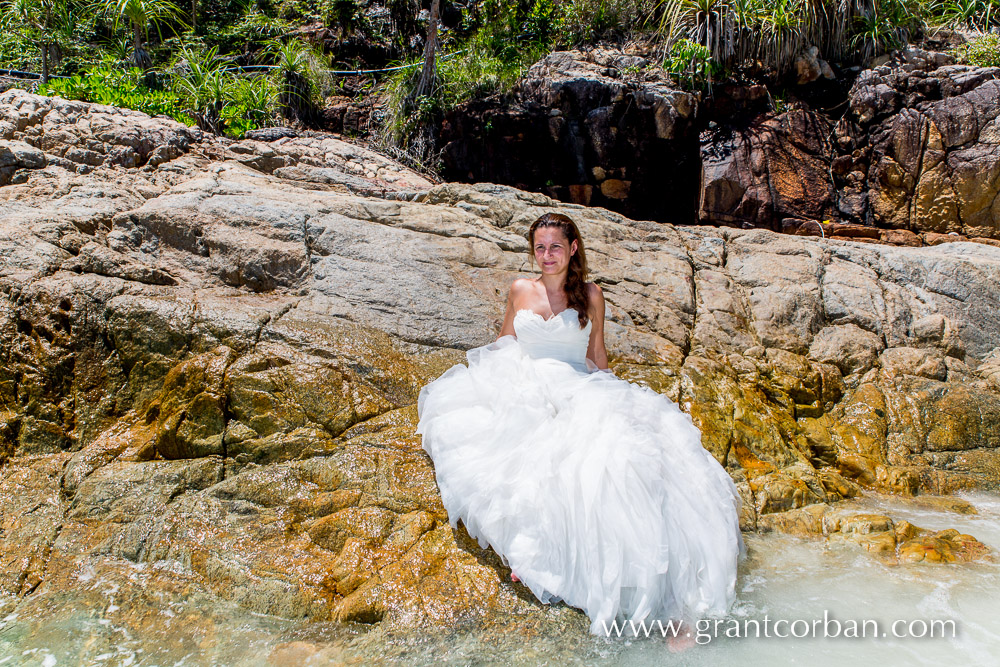
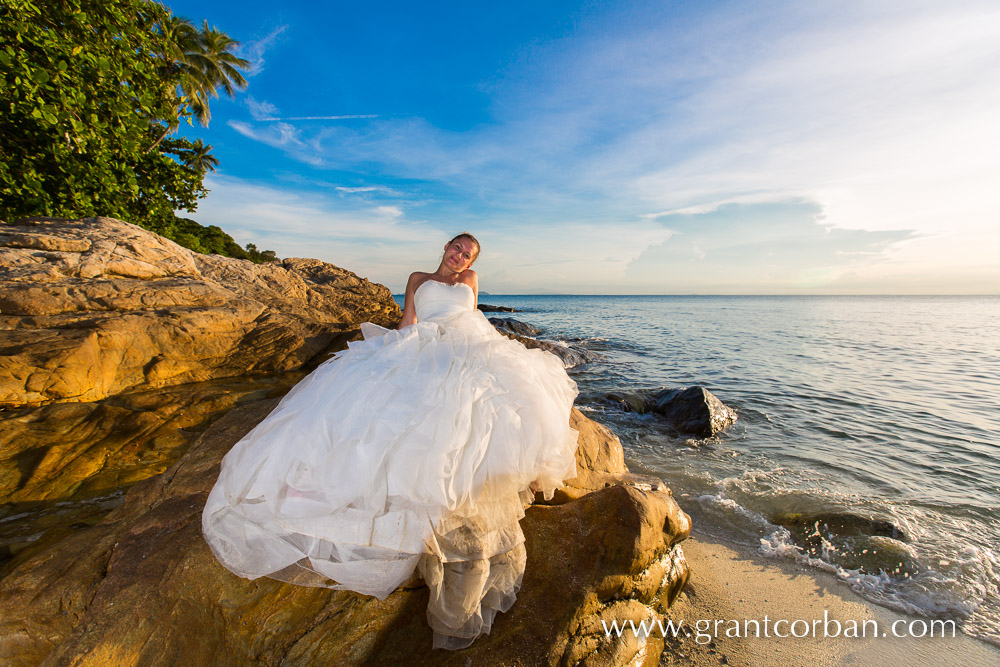




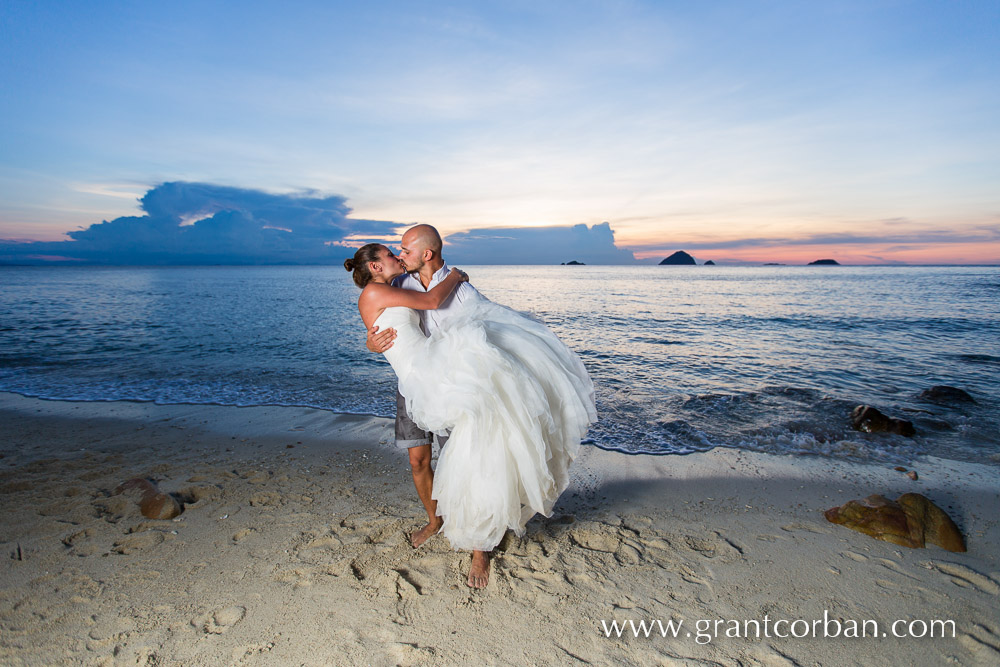

Sweet Sunset from Perhentian Kecil
UNDERWATER PHOTOGRAPHY: Ok, the glaring omission is the lack of the underwater photos. The sea didn’t agree to work with us and due to overnight rains and the inevitable rain water and soil run off the water was not clear at all :-(  A big disappointment considering the amount of preparation I had done but it also showed some shortcomings in the gear I did eventually choose to use. I purchased the Dicapac DCP-WPS10 underwater DSLR soft case as I read some very positive reviews about it. Seems like the reviews were shot either in swimming pools or nice clear ocean water, as in less than optimal conditions it was hard to use and couldn’t focus even if its life depended on it. It may have been the camera I used, a Canon 650D, but I was not too keen to trust either my Nikon D3 or Canon 5Dmk3 to the Dicapac bag as they are very pricey cameras to replace! I am used to pressing a shutter button and the camera giving me a very positive feed back that a photo has been taken. The Dicapac was a big fail here. I had no idea whether it was firing or not…and it turned out it did, once in every 20 clicks….aaaargh! The other thing is viewing the images on the back of the screen was exceedingly difficult so I gave up on the Dicapac. It is now relegated to swimming pool shoots. One tip if using the Dicapac DCP-WPS10: when you open a Dicapac after it has been underwater be extremely careful as water is trapped in the folds so there is a good chance of some sea water falling on to your camera.
I also rented a Canon G9 along with Canons specifically made housing for it from a PADI diver on Perhentian. He was raving about how good it was until I told him I am a professional photographer. His “nOOb spiel” was then replaced with a more realistic set of expectations and afterwards we had a most excellent chat about underwater photography. The images I took were marred by the murk however it was an excellent experience for me. The “feel” was really not responsive and I wasn’t sure if images were being taken or not while shooting. I would say about 70% of the time photos were being taken but pressing the shutter and not being sure if it was firing was a curious phenomena for me. It was spray and pray…with many images deleted in post. Again the viewfinder was quite poor (might be awesome if in deeper water – say deeper than 3m?) but it was useless for framing within 2m of the surface so it was a real cowboy shoot from the hip experience. One tip when using the Canon G9. Turn it off when not shooting. The camera is fairly warm when on and fogs up the front plate really fast with condensation. A bit of tissue around the lens sort of helps but not a lot.
So where to from here? It’s time to drop about RM16,000 for a proper casing for my pro level DSLRs and get some underwater strobes. Professional is professional.
